
About this project...
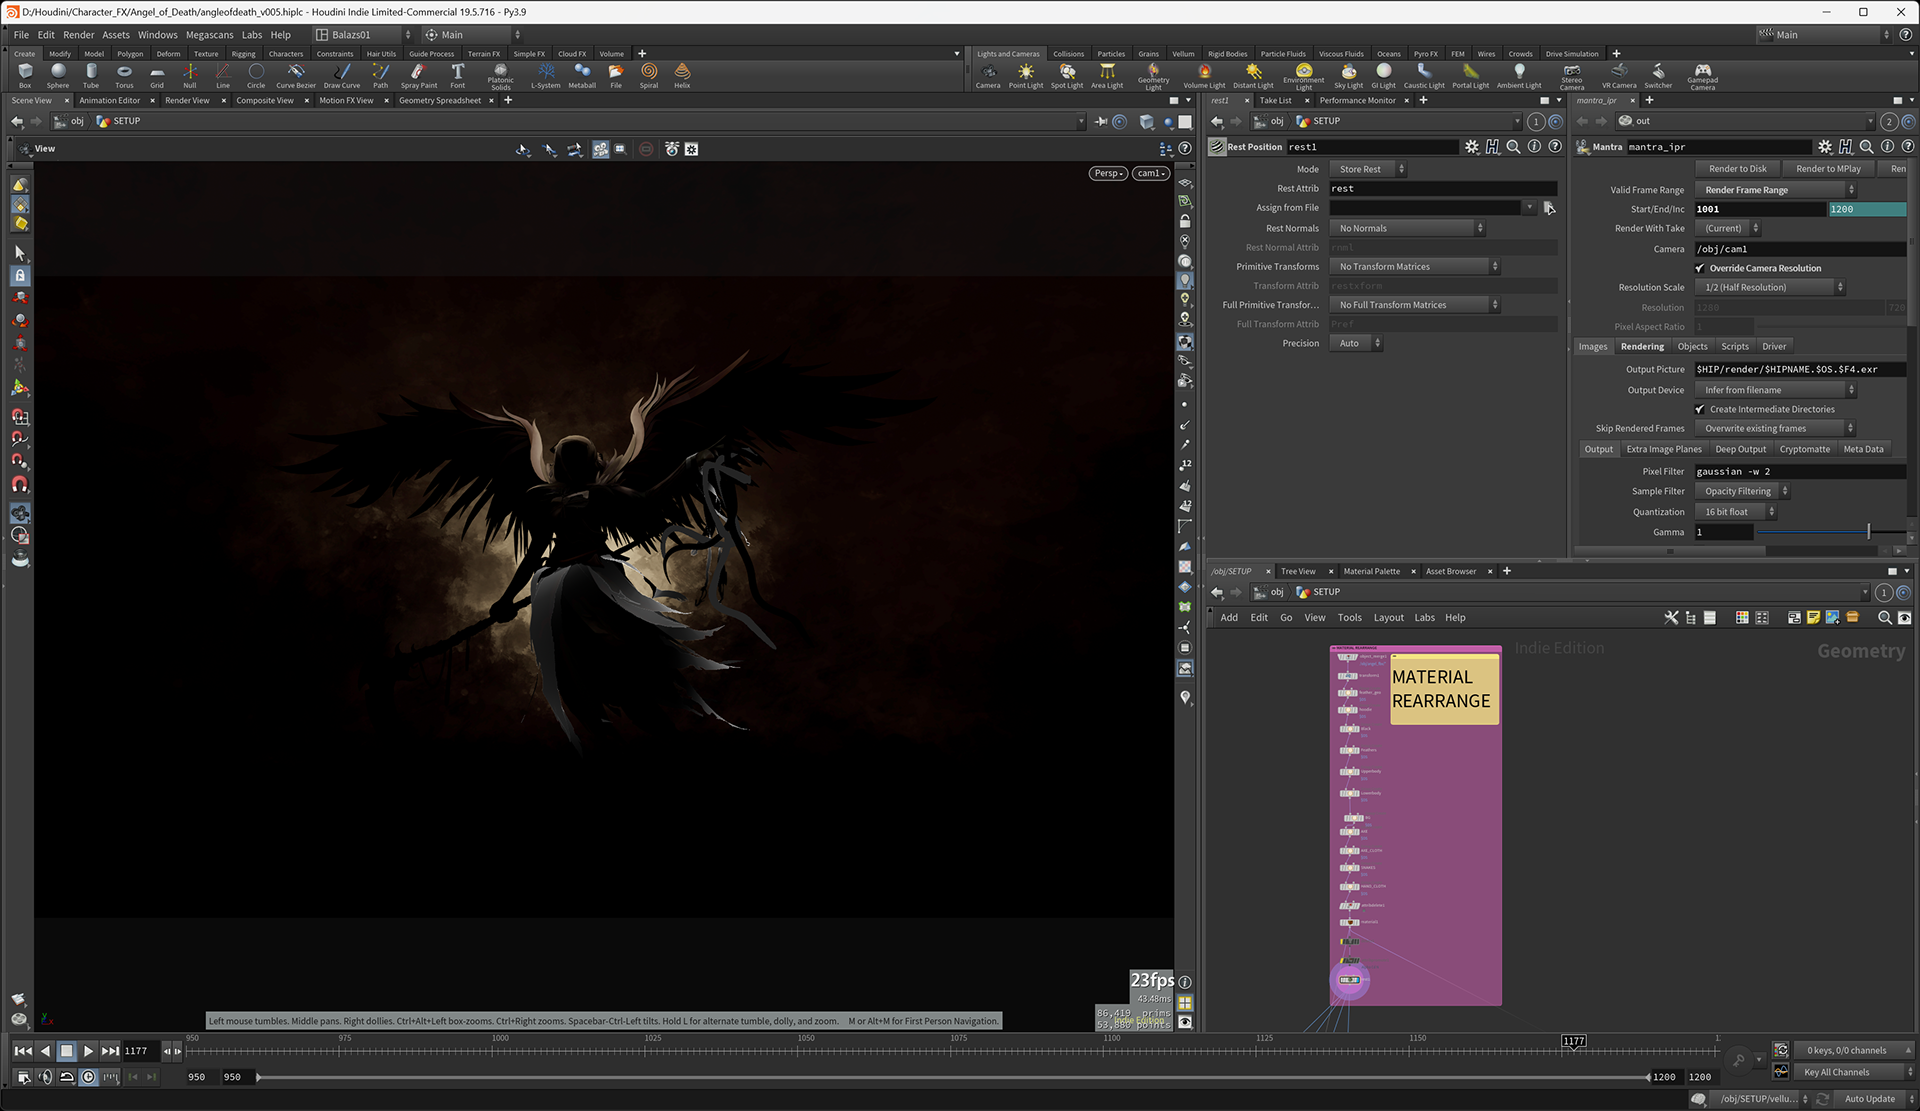
I was casually browsing for some inspiration on sketchfab and this Angel got my attention immediately. I think it is fabulous work. I wanted to bring it to life. I instantly had the idea clearly in my head.
My main goal was to keep the aesthetic of this art strictly and try to add some of my ideas that are complementing the original.
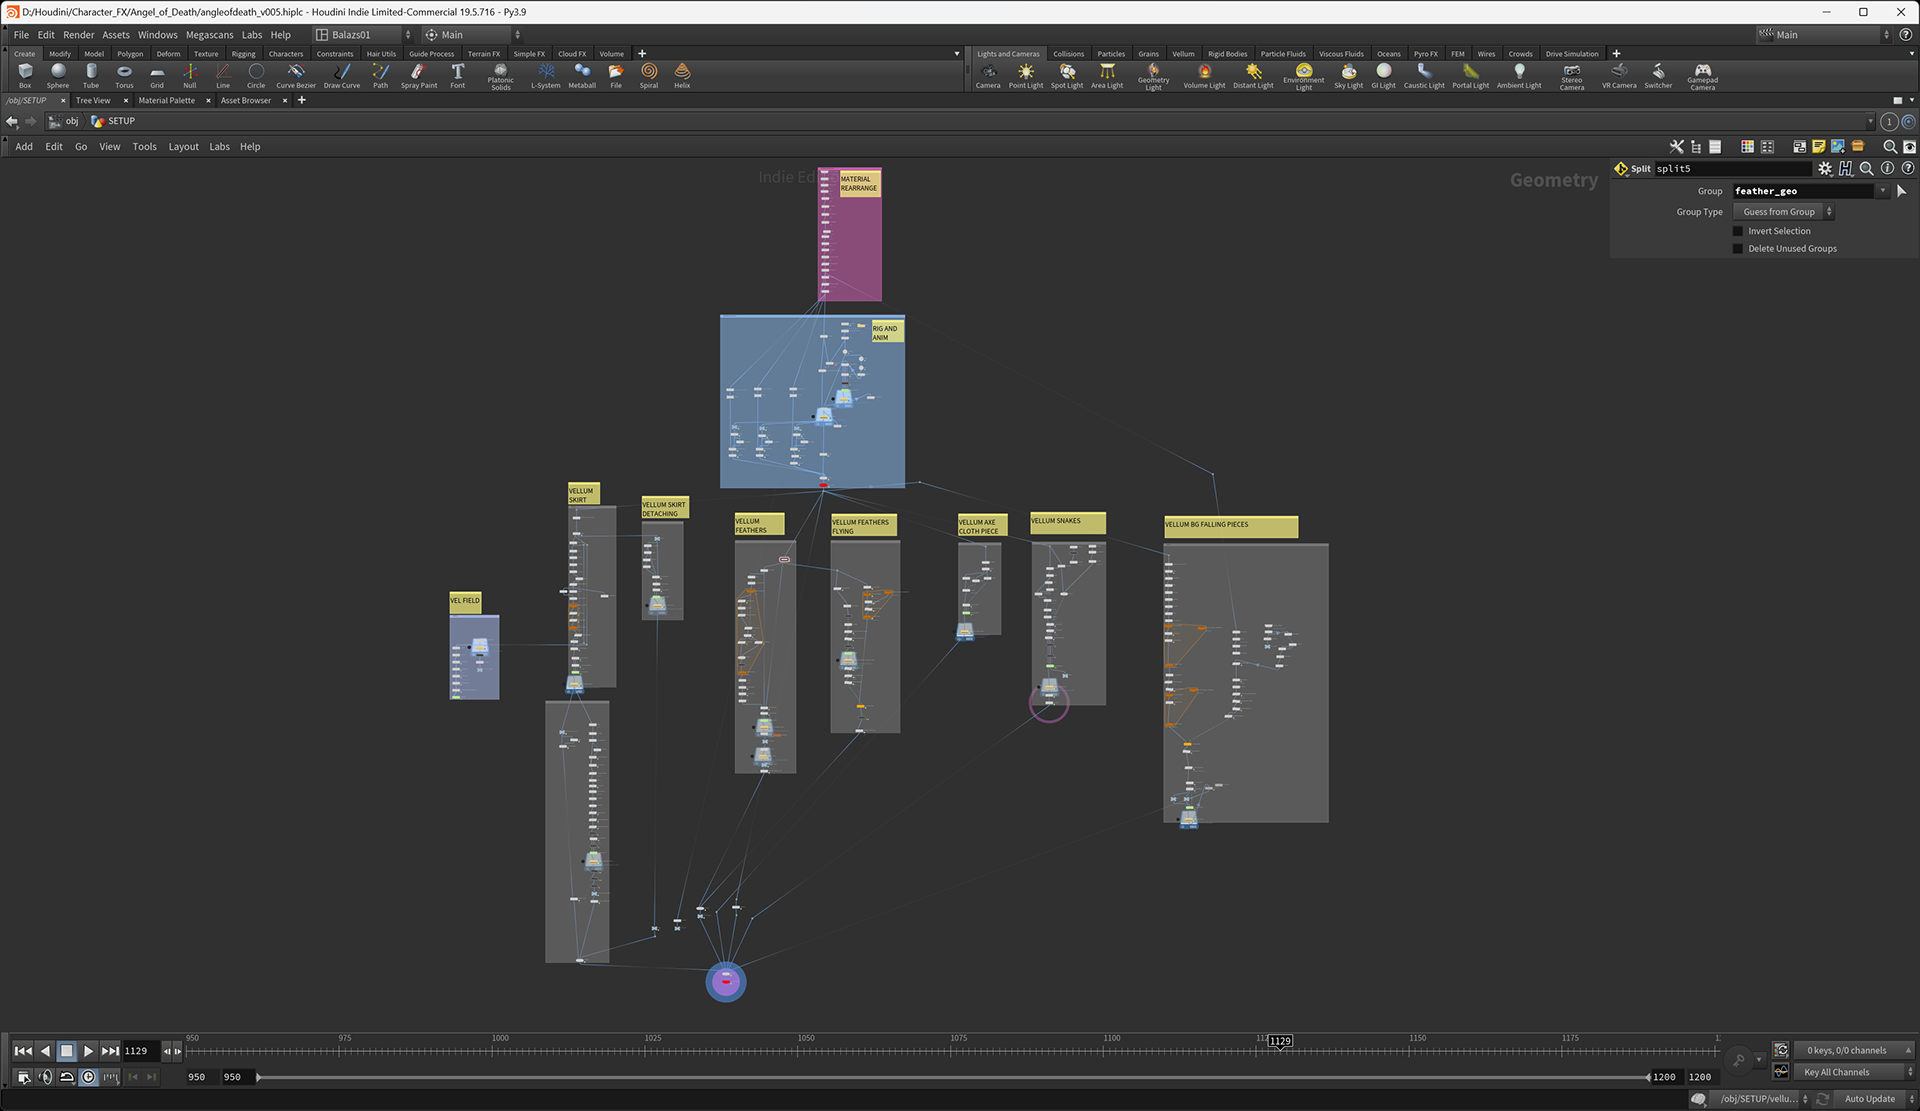
Here is my workflow briefly:
01. Rigging and animating
Very simple setup, I didn’t need dive int deeply in rigging and skinning for this projects. Easy rig, some keyframes for animation and some vellum hair sim to add a natural movement for the overall look.
Very simple setup, I didn’t need dive int deeply in rigging and skinning for this projects. Easy rig, some keyframes for animation and some vellum hair sim to add a natural movement for the overall look.
02. Skirt
I wanted to have an airy look, with such a wind direction as the original.
FINDING pin points. I didn’t want to select manually the pin points neither use a bounding box for it, the skirt pieces has different length and position. So I wanted to use some attribute. The UV-s are not helpful for this one, so I aligned them uniformly in a foreachloop which gave my like 90% accuracy, great, I can work with it, some post changes and ready to go.
For the wind force I used a pyro sim - which gave me the nice airy look I wanted.
Setting up the right cloth attributes I found the sim kinda flat. I needed som extra constraint to keep the volume of the original mesh like 80% but has the nice movements in the windforce. I added a pressure constraint with very small effect, but effective.
I also wanted to add some kinda magic to it so I chose to sim some detaching parts from the skirt.
It was crucial to look identical to the skirt sim so I used the same force.
I fractured the original mesh into pieces and added some cluster to it, so looks more random and unique each piece.
It was crucial to look identical to the skirt sim so I used the same force.
I fractured the original mesh into pieces and added some cluster to it, so looks more random and unique each piece.
03. Feathers
I used the same setup for this one as for the skirt. Aligning UV-s to setup pin points. Pin it to the original animation, add some wind force to it. And to add something more interesting effect I created a secondary vellum simulation for falling feathers.
I used the same setup for this one as for the skirt. Aligning UV-s to setup pin points. Pin it to the original animation, add some wind force to it. And to add something more interesting effect I created a secondary vellum simulation for falling feathers.
04. Axe cloth & snakes
The cloth was easy, simulation with wind force, the same as the previous effects.
The snake gave me some headaches. First I used the same simulation as the above. The looked unconscious. Which not what I wanted. Boring. So I created some shape deformations and used that as the base of the simulation, so it is now visible that they are not just hanging there helplessly, but have some directional movement in the wind.
05. Background Falling Pieces
The image in my head was almost ready but something was missing, the image was flat, empty. So I found out to add some movement in the background.
It has the same setup as for the detaching pieces in “02.Skirt” part.
I used the same velocity field as force – scaled up of course. Fracturing and Welding based on attributes, so some pieces brake smaller pieces in the air. Love it. I couldn’t do it for the skirt, the effect become too noise and crowded, but in the background it works very well.
06. Axe Magic
Almost almost ready…I needed more magic. So I created this lovely particle effect for the axe.
I like to think I developed this effect :D Starts with setting up emission and life attributes. It is crucial for this effect to get these right. The correct frequency and animation speed. We need to multiply life with emission so it blurres out the edges a bit.
The second part is the force. In a VOP. Curl noise feeding directly into velocity. Amplitude and noise frequency ramped based on age. Well compared to life attributes. So as the particle gets closer to its life attribute, we scaling the noise frequency down and the amplitude up so we have bigger “shaped” curl noise – or how to say…and of course scaling down the directional force, so its basically slows down.
Actually I made an other effect first, but it didn’t integrated to the image for me. I loved the effect very much so, but not for this project ☹.
The idea was that a power-force swirling around the axe.
I draw a curve – used it as force, plus added some extra force inside the simulation to create this varied effect. To match the colour of the particles to the scene, I used a ramped density attribute of the particles. So if there are many particles close to each other the colour is bright, if the density is low – the colour is black. Same goes with pscale.
Hope u like it!
Cheers,
Balazs
Balazs